Public Demo · Getting started
Your first preparation loop
After the opening, make a protected base your return point, prepare ordinary food, and repair your equipment. Then take a short exploration trip and return to restock before pushing into a storm or preparing Squallreaver’s offering.
Updated 2026-10-25
On this page
This is a preparation order for the public Demo once you are through the opening. Use it as a checklist between trips; the time you spend on each step depends on your world and supplies.
1. Make a useful base to return to
You can build from individual pieces or make an abandoned village house your own. Put a Crystal Pillar at the heart of the base before treating it as shelter from roaming Chaos Storms.
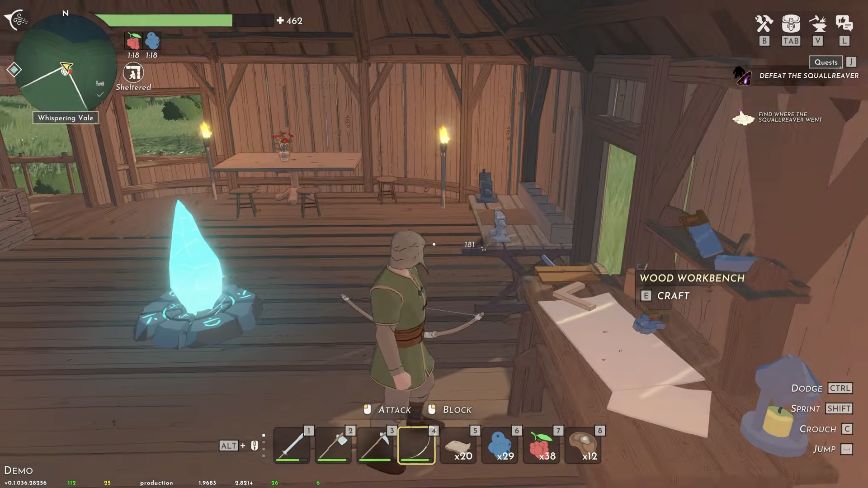
Keep preparation tasks together: a Campfire for cooking, a Repair Station for worn equipment, and storage for materials. Chests within the pillar’s radius can supply crafting. Read the build menu and station requirements before placing a facility.
A roof or the Sheltered status alone is not confirmation of a Chaos Storm shield. When a warning appears, return and check the actual shield. See the base-protection checklist →
2. Prepare food before leaving
Use the Campfire’s ordinary food recipes. Read the meal’s Food Size, Max Health and Health Regeneration fields so you know what you are preparing.
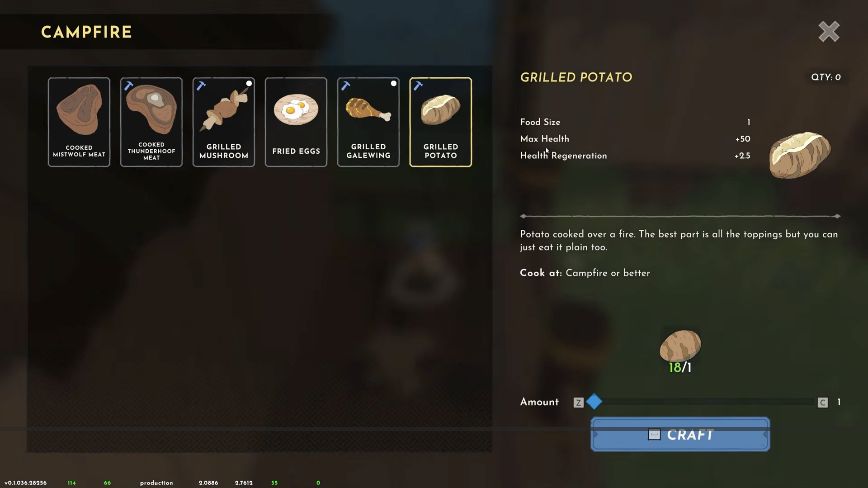
Check available food slots as well as ingredients. An empty backpack does not create more food capacity. Use the cooking and food-slot guide if you cannot eat a prepared meal.
3. Repair, then check what you are carrying
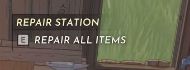
At a Repair Station, use Repair All Items. Repairs are free in the Demo. The station’s No Items Need Repairing feedback tells you it currently finds nothing left to repair.
Repairing restores equipment; weapon upgrading is a separate preparation task. For the repair operation and result, follow the Repair Station guide →
4. Make the next trip short and purposeful
Choose one goal: find a useful marker, collect a needed material, or inspect a nearby storm. Your world is generated, so follow your own map and quest markers rather than another player’s coordinates.
- Know which base you intend to return to.
- Check that the food you prepared fits your available slots.
- Leave with repaired equipment and a clear material or quest target.
- Respond to a Chaos Storm warning by seeking protected shelter.
On return, sort materials into matching chests and prepare the next trip. Quick Stack and crafting from storage help keep this loop manageable.
5. Move toward the next challenge
When you need Corrupted Rock for the boss offering, look for purple-veined rocks in corrupted areas and confirm the pickup name. Clearing a local storm has its own generator-and-crystal sequence.
When you are ready to locate Squallreaver, follow the Wayfinder route, make the named Feast, and use the altar. That is a separate objective from collecting six seal fragments for a vault.