Whispering Vale • Demo guide
Clear a storm and gather its materials
To clear a local storm, bring down the shield around its dark crystal, defeat its guardians, then destroy the crystal. For Corrupted Rock, use a pickaxe on purple-veined rocks in a corrupted area and check the pickup name.
Updated 2026-10-25
On this page
Get Corrupted Rock from purple-veined rocks
Storm-corrupted areas contain corrupted versions of ordinary resources. Look for purple veins across the rock surface, then mine the rock with a pickaxe.
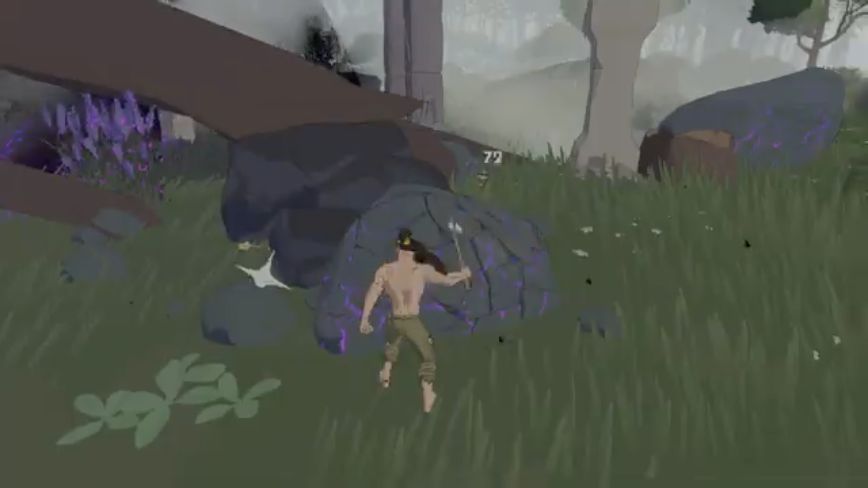


This is the purple-stone material shown in the Squallreaver Feast recipe. Craft the Feast at a Campfire after gathering the amount your current recipe requests.
You can make short trips into the corrupted area to gather, or clear the storm first for a safer return. Corrupted wood is also gathered in corrupted areas; it is useful for equipment preparation.
Find what is protecting the dark crystal
Locate the dark crystal near the heart of the storm. If a dome blocks it, look for the purple connections leading to shield generators. Official v0.1.36.28018 added these connections to make generators easier to find.
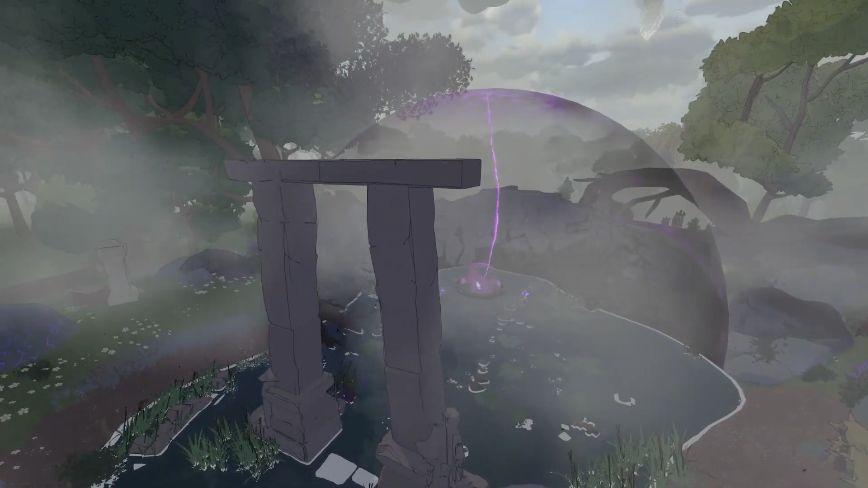
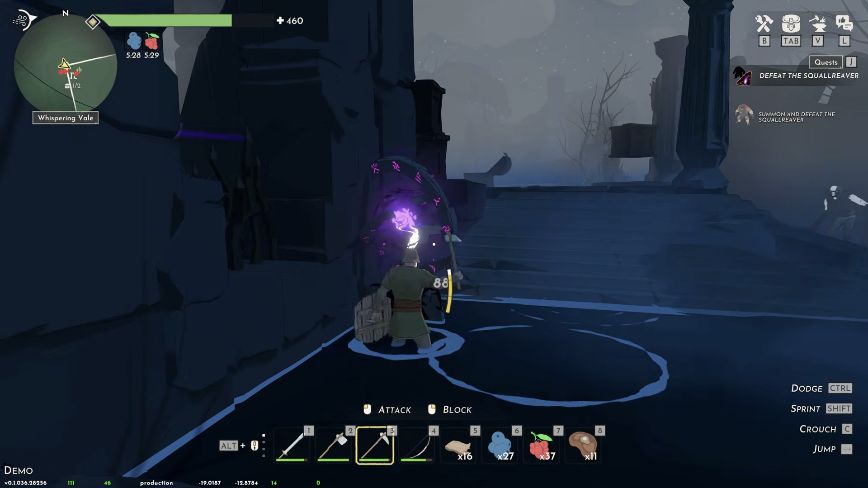
Keep looking if the barrier remains after one generator. The useful completion signal is “The shield barrier has been deactivated.” The official notes reduced generator numbers, but do not establish a fixed count for every storm.
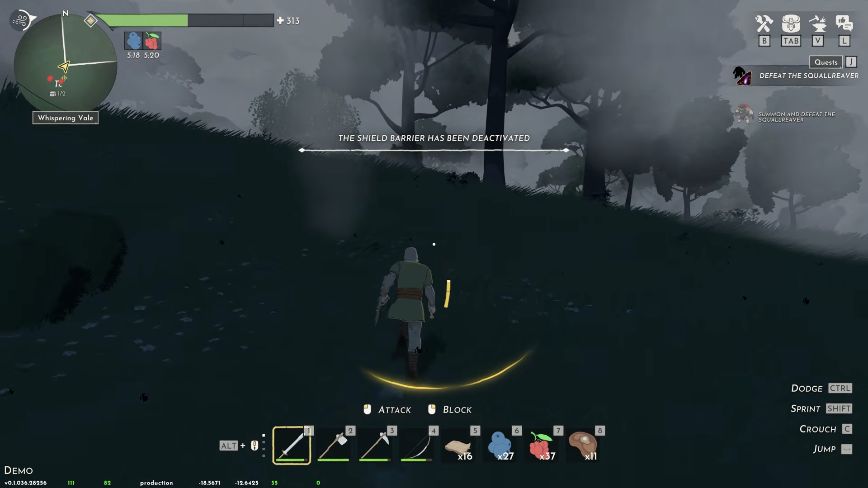
Defeat the guardians and break the dark crystal
Deal with the enemies protecting the center, then attack the exposed dark crystal. Some larger storm encounters also require a boss defeat; the Squallreaver encounter has its own Feast and altar interaction.
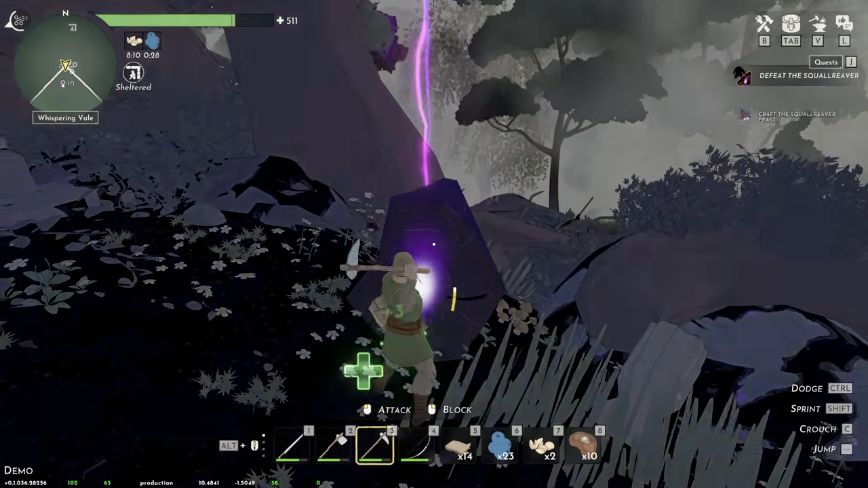
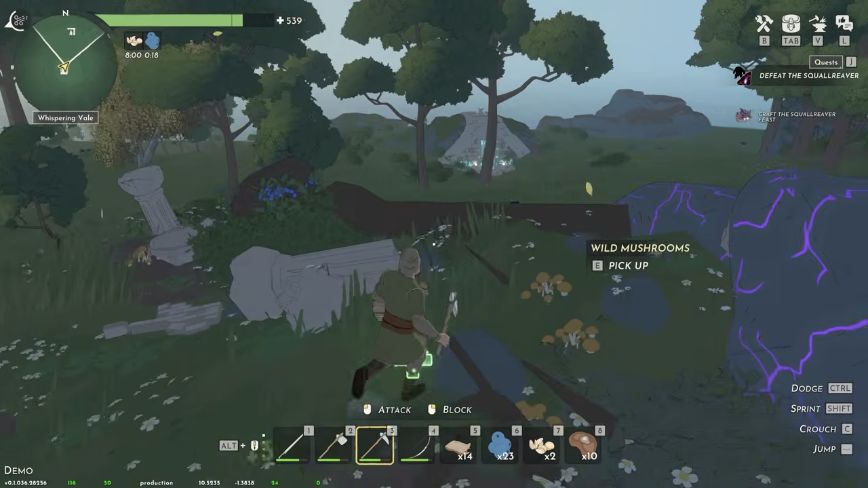
Destroying the central crystal clears the local storm. The official overview also describes experience and skill progression as rewards for clearing storms.
Stay alive while you work
- Keep moving. Local tornadoes pursue you while you remain in their corrupted area and can throw debris.
- Prepare food and equipment. Check food and capacity, and leave time to retreat and repair before trying another generator.
- Separate local storms from Chaos Storms. Clearing one local crystal does not provide a shield for your base against a roaming Chaos Storm.
Gameplay pictures show the October Demo. Costs, balance and on-screen notices can change; these steps do not depend on a fixed generator count or resource yield.